

随着数据驱动型应用程序的日益突出,将 XML 文件中的数据导出为普遍接受的 PDF 格式的需求变得越来越重要。本文将逐步介绍如何在 Python 中高效地将 XML 转换为 PDF。那么,让我们开始吧!
本文将涉及以下主题:
将 XML 转换为 PDF 的 Python 库
用 Python 将 XML 转换为 PDF
用 Python 从 XML 生成 PDF
在线将 XML 转换为 PDF
将 XML 转换为 PDF 的 Python 库
要从 XML 生成 PDF 文件,最直接的方法是利用专为 XML 转换为 PDF 而设计的 Aspose.PDF for Python 库。通过简单的安装和使用,它为将 XML 文档转换为 PDF 文件提供了高效的解决方案。Aspose.PDF for Python 是 PDF 生成、操作和转换的强大解决方案,可为开发人员提供无与伦比的文档工作流控制。
请在控制台中使用以下 pip 命令从 PyPI 下载软件包或安装 API:
> pip install aspose-pdf
用 Python 将 XML 转换为 PDF
通过以下步骤,我们可以轻松地将 XML 转换为 PDF:
创建一个 Document 类对象。
通过提供 XML 文件路径,使用 Document.bind_xml(file) 方法绑定 XML。
使用 Document.save(output_file_name) 方法将 XML 转换为 PDF。
以下代码示例展示了如何使用 Python 将 XML 文件转换为 PDF。
import aspose.pdf as ap
# Create a new PDF document
pdfDocument = ap.Document();
# Transform and bind XML
pdfDocument.bind_xml( "C:\\Files\\sample.xml");
# Generate PDF from XML
pdfDocument.save( "C:\\Files\\generated-pdf.pdf");
源 XML 文件
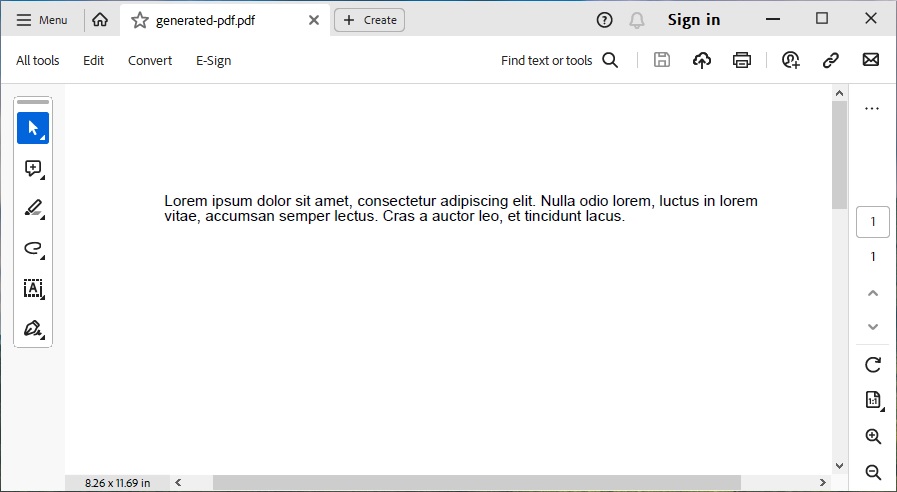
以下是我们用来转换成 PDF 文档的 XML 示例文件。
<?xml version="1.0" encoding="utf-8" ?>
<Document xmlns="Aspose.Pdf">
  <Page>
    <TextFragment>
      <TextSegment>Lorem ipsum dolor sit amet, consectetur adipiscing elit. Nulla odio lorem, luctus in lorem vitae, accumsan semper lectus. Cras a auctor leo, et tincidunt lacus.</TextSegment>
    </TextFragment>
  </Page>
</Document>
生成 PDF 文件
用 Python 从 XML 生成 PDF
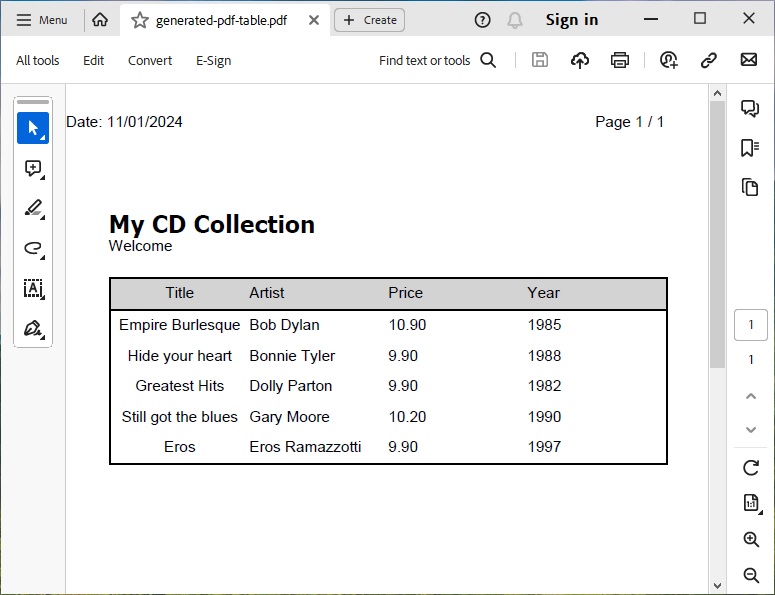
我们还可以从包含应用程序数据的 XML 文件生成 PDF 文档。为此,我们将首先使用 XSLT 将其转换为与 Aspose.PDF 兼容的 XML,然后再将其转换为 PDF 格式。
以下是我们需要转换为 PDF 文档的 XML 数据示例。
<?xml version="1.0" encoding="utf-8" ?>
<catalog>
  <cd>
<Content>Hello World!</Content>
    <title>Empire Burlesque</title>
    <artist>Bob Dylan</artist>
    <country>USA</country>
    <company>Columbia</company>
    <price>10.90</price>
    <year>1985</year>
  </cd>
  <cd>
    <title>Hide your heart</title>
    <artist>Bonnie Tyler</artist>
    <country>UK</country>
    <company>CBS Records</company>
    <price>9.90</price>
    <year>1988</year>
  </cd>
  <cd>
    <title>Greatest Hits</title>
    <artist>Dolly Parton</artist>
    <country>USA</country>
    <company>RCA</company>
    <price>9.90</price>
    <year>1982</year>
  </cd>
  <cd>
    <title>Still got the blues</title>
    <artist>Gary Moore</artist>
    <country>UK</country>
    <company>Virgin records</company>
    <price>10.20</price>
    <year>1990</year>
  </cd>
  <cd>
    <title>Eros</title>
    <artist>Eros Ramazzotti</artist>
    <country>EU</country>
    <company>BMG</company>
    <price>9.90</price>
    <year>1997</year>
  </cd>
</catalog>
为了使这些数据与 Aspose.PDF XML 兼容,我们将执行 XSLT 转换。为此,我们将在 XSLT 样式表文件中定义一个模板,如下所示。
<?xml version="1.0" encoding="utf-8"?>
<xsl:stylesheet version="1.0"
  xmlns:xsl="http://www.w3.org/1999/XSL/Transform">
  <xsl:template match="/">
  <Document xmlns="Aspose.Pdf">
  <Page>
<PageInfo IsLandscape="false" Height="595" Width="420">
      <Margin Top="71" Bottom="71" Left="28" Right="28" />
    </PageInfo>
    <Header>
        <Margin Top="20" />
        <Table ColumnAdjustment="AutoFitToWindow">
            <Row>
                <Cell Alignment="1">
                    <TextFragment>
                        <TextSegment>Date: 11/01/2024</TextSegment>
                    </TextFragment>
                </Cell>
                <Cell Alignment="3">
                    <TextFragment>
                        <TextSegment>Page $p / $P</TextSegment>
                    </TextFragment>
                </Cell>
            </Row>
        </Table>
    </Header>
    <HtmlFragment>
      <![CDATA[
        <h1 style="font-family:Tahoma; font-size:16pt;">My CD Collection</h1>
        ]]>
    </HtmlFragment>
    <TextFragment>
      <TextSegment>Welcome</TextSegment>
    </TextFragment>
<Table ColumnAdjustment="AutoFitToWindow" ColumnWidths ="10 10 10 10">
      <DefaultCellPadding Top="5" Left="0" Right="0" Bottom="5" />
      <Border>
        <Top Color="Black"></Top>
        <Bottom Color="Black"></Bottom>
        <Left Color="Black"></Left>
        <Right Color="Black"></Right>
      </Border>
      <Margin Top="15" />
      <Row BackgroundColor="LightGray" MinRowHeight="20">
        <Border>
          <Bottom Color="Black"></Bottom>
        </Border>
        <Cell Alignment="2">
          <TextFragment>
            <TextSegment>Title</TextSegment>
          </TextFragment>
        </Cell>
        <Cell>
          <TextFragment>
            <TextSegment>Artist</TextSegment>
          </TextFragment>
        </Cell>
        <Cell>
          <TextFragment>
            <TextSegment>Price</TextSegment>
          </TextFragment>
        </Cell>
        <Cell>
          <TextFragment>
            <TextSegment>Year</TextSegment>
          </TextFragment>
        </Cell>
      </Row>
  <xsl:for-each select="catalog/cd">
<Row>
        <Cell Alignment="2">
          <TextFragment>
            <TextSegment><xsl:value-of select="title"/></TextSegment>
          </TextFragment>
        </Cell>
        <Cell>
          <TextFragment>
            <TextSegment><xsl:value-of select="artist"/></TextSegment>
          </TextFragment>
        </Cell>
        <Cell>
          <TextFragment>
            <TextSegment><xsl:value-of select="price"/></TextSegment>
          </TextFragment>
        </Cell>
        <Cell>
          <TextFragment>
            <TextSegment><xsl:value-of select="year"/></TextSegment>
          </TextFragment>
        </Cell>
      </Row>
  </xsl:for-each>
    </Table>
  </Page>
</Document>
</xsl:template>
</xsl:stylesheet>
创建模板文件后,我们就可以按照前面提到的步骤生成 PDF。不过,我们只需调用 Document.bind_xml(xml_file, xsl_file) 方法,提供 XML 文件和 XSLT 文件路径即可。
下面的代码示例展示了如何使用 Python 从 XML 文件生成 PDF。
import aspose.pdf as ap
# Create a new PDF document
pdfDocument = ap.Document();
# Transform and bind XML
pdfDocument.bind_xml( "C:\\Files\\data.xml",  "C:\\Files\\template.xslt");
# Generate PDF from XML
pdfDocument.save( "C:\\Files\\generated-pdf-table.pdf");
XML to PDF Converter 许可证
您可以获得临时许可证,在没有评估限制的情况下使用 API。
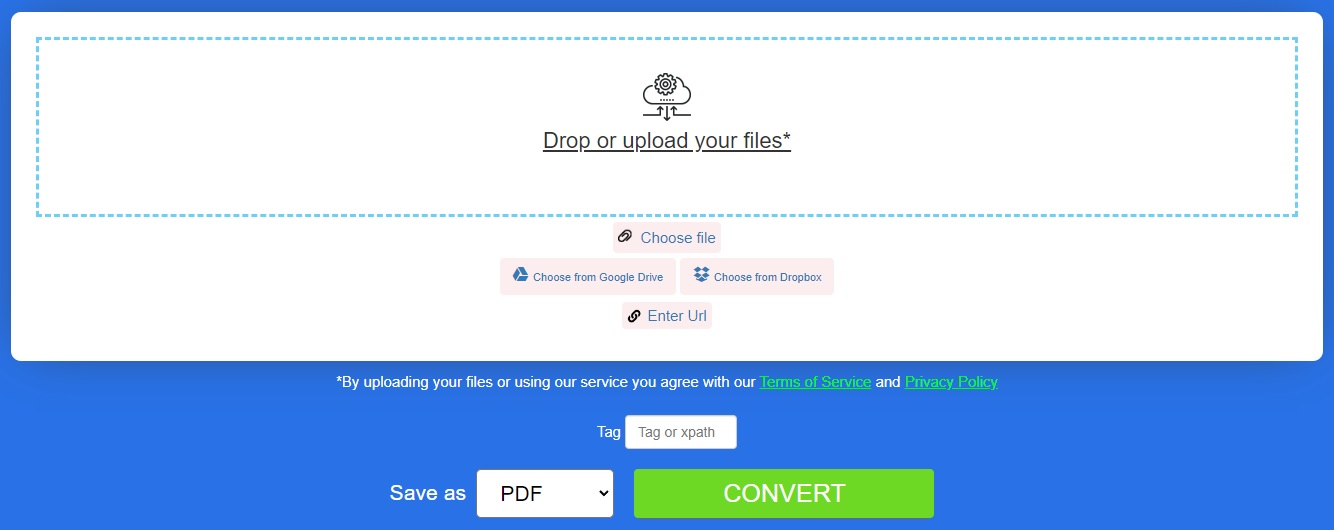
在线将 XML 转换为 PDF
您还可以使用这款免费的 XML 至 PDF 转换器工具,在线将 XML 文件转换为 PDF 文档。
结论
在本文中,您已经学会了如何在 Python 中将 XML 转换为 PDF。按照本文概述的步骤,您可以轻松地将此功能集成到您的 Python 应用程序中,从 XML 生成 PDF 文件。如果您有任何问题,请随时联系我们。


 渝公网安备50010702505508