

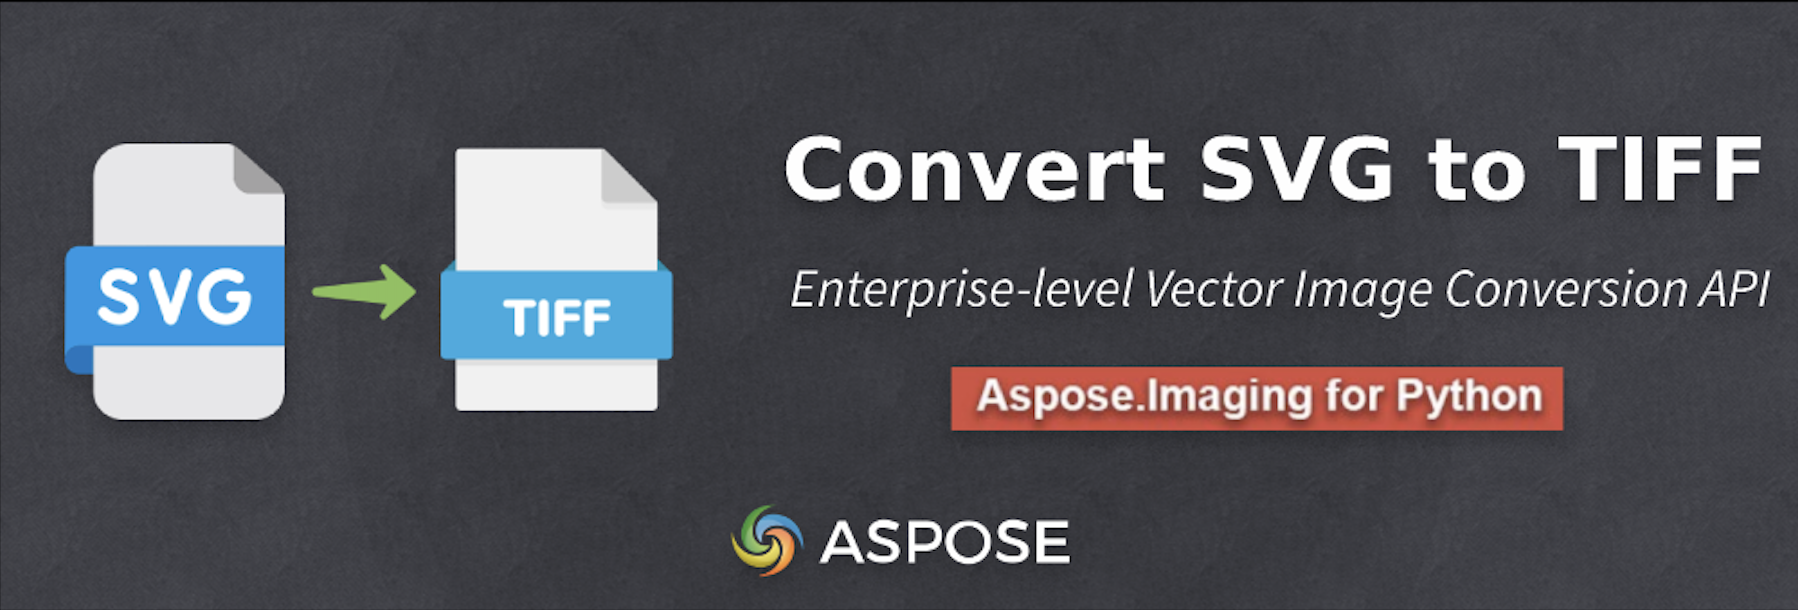
随着时间的推移,任何商业软件的范围都在不断扩大,而早期的自动化总是能带来竞争优势。本文展示了将矢量图像转换为光栅图像的自动化过程。为此,我们决定撰写一份开门见山的指南,说明如何用 Python 将 SVG 转换为 TIFF。不过,我们选择了企业级图像处理库 Aspose.Imaging for Python。我们将带您从安装到实现功能。因此,在本文结束时,您将能够为您的业务应用程序构建一个矢量到光栅的转换器。
我们将介绍以下几点:
矢量图像转换 - API 安装
用 Python 将 SVG 转换为 TIFF
在线将矢量图转换为光栅
矢量图像转换 - API 安装
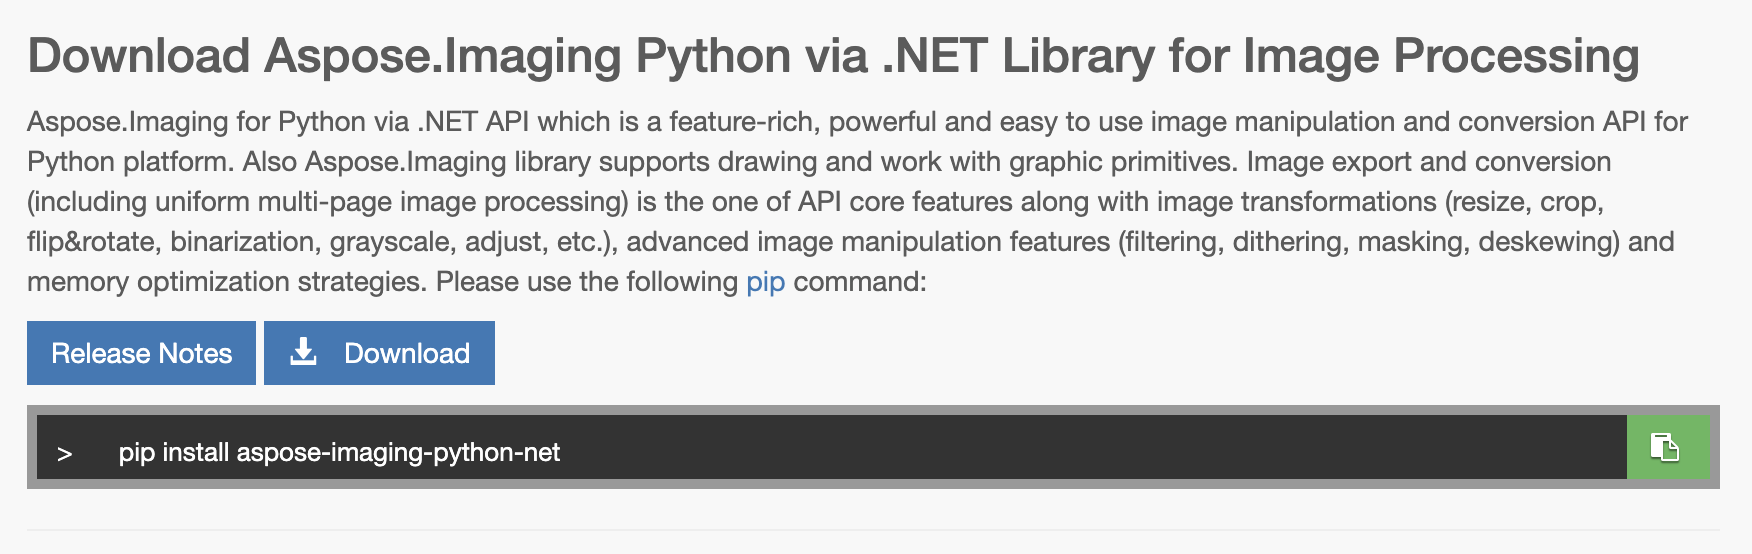
Aspose.Imaging for Python 的安装过程非常简单。安装过程中不需要依赖第三方。事实上,只需运行一条命令,您就可以访问一大堆功能。因此,让我们在终端/CMD 中运行以下 pip 命令来安装这个图像处理库:
pip install aspose-imaging-python-net
用 Python 将 SVG 转换为 TIFF
代码胜过万言。到目前为止,我们已经为 Python 设置了 Aspose.Imaging,可以开始编写代码了。在继续之前,请注意我们有一个 SVG 源文件,我们将使用此图像处理库将其转换为 TIFF。
您可以按照下面提到的步骤开发 SVG 到 TIFF 的转换器:
调用 Image 类的 load 方法并加载 SVG 源文件。
创建一个 TiffOptions 类对象,并用 TIFF 文件格式对其进行初始化。
实例化 SvgRasterizationOptions 类,以定义 SVG 文件格式选项。
为 page_width 属性赋值,设置页面宽度。
通过设置 page_height 属性的值来定义页面的高度。
将 SvgRasterizationOptions 类对象赋值给 vector_rasterization_options 属性。
调用保存方法将转换后的 TIFF 文件保存到磁盘上。
以下代码示例演示了如何用 Python 编程将 SVG 转换为 TIFF:
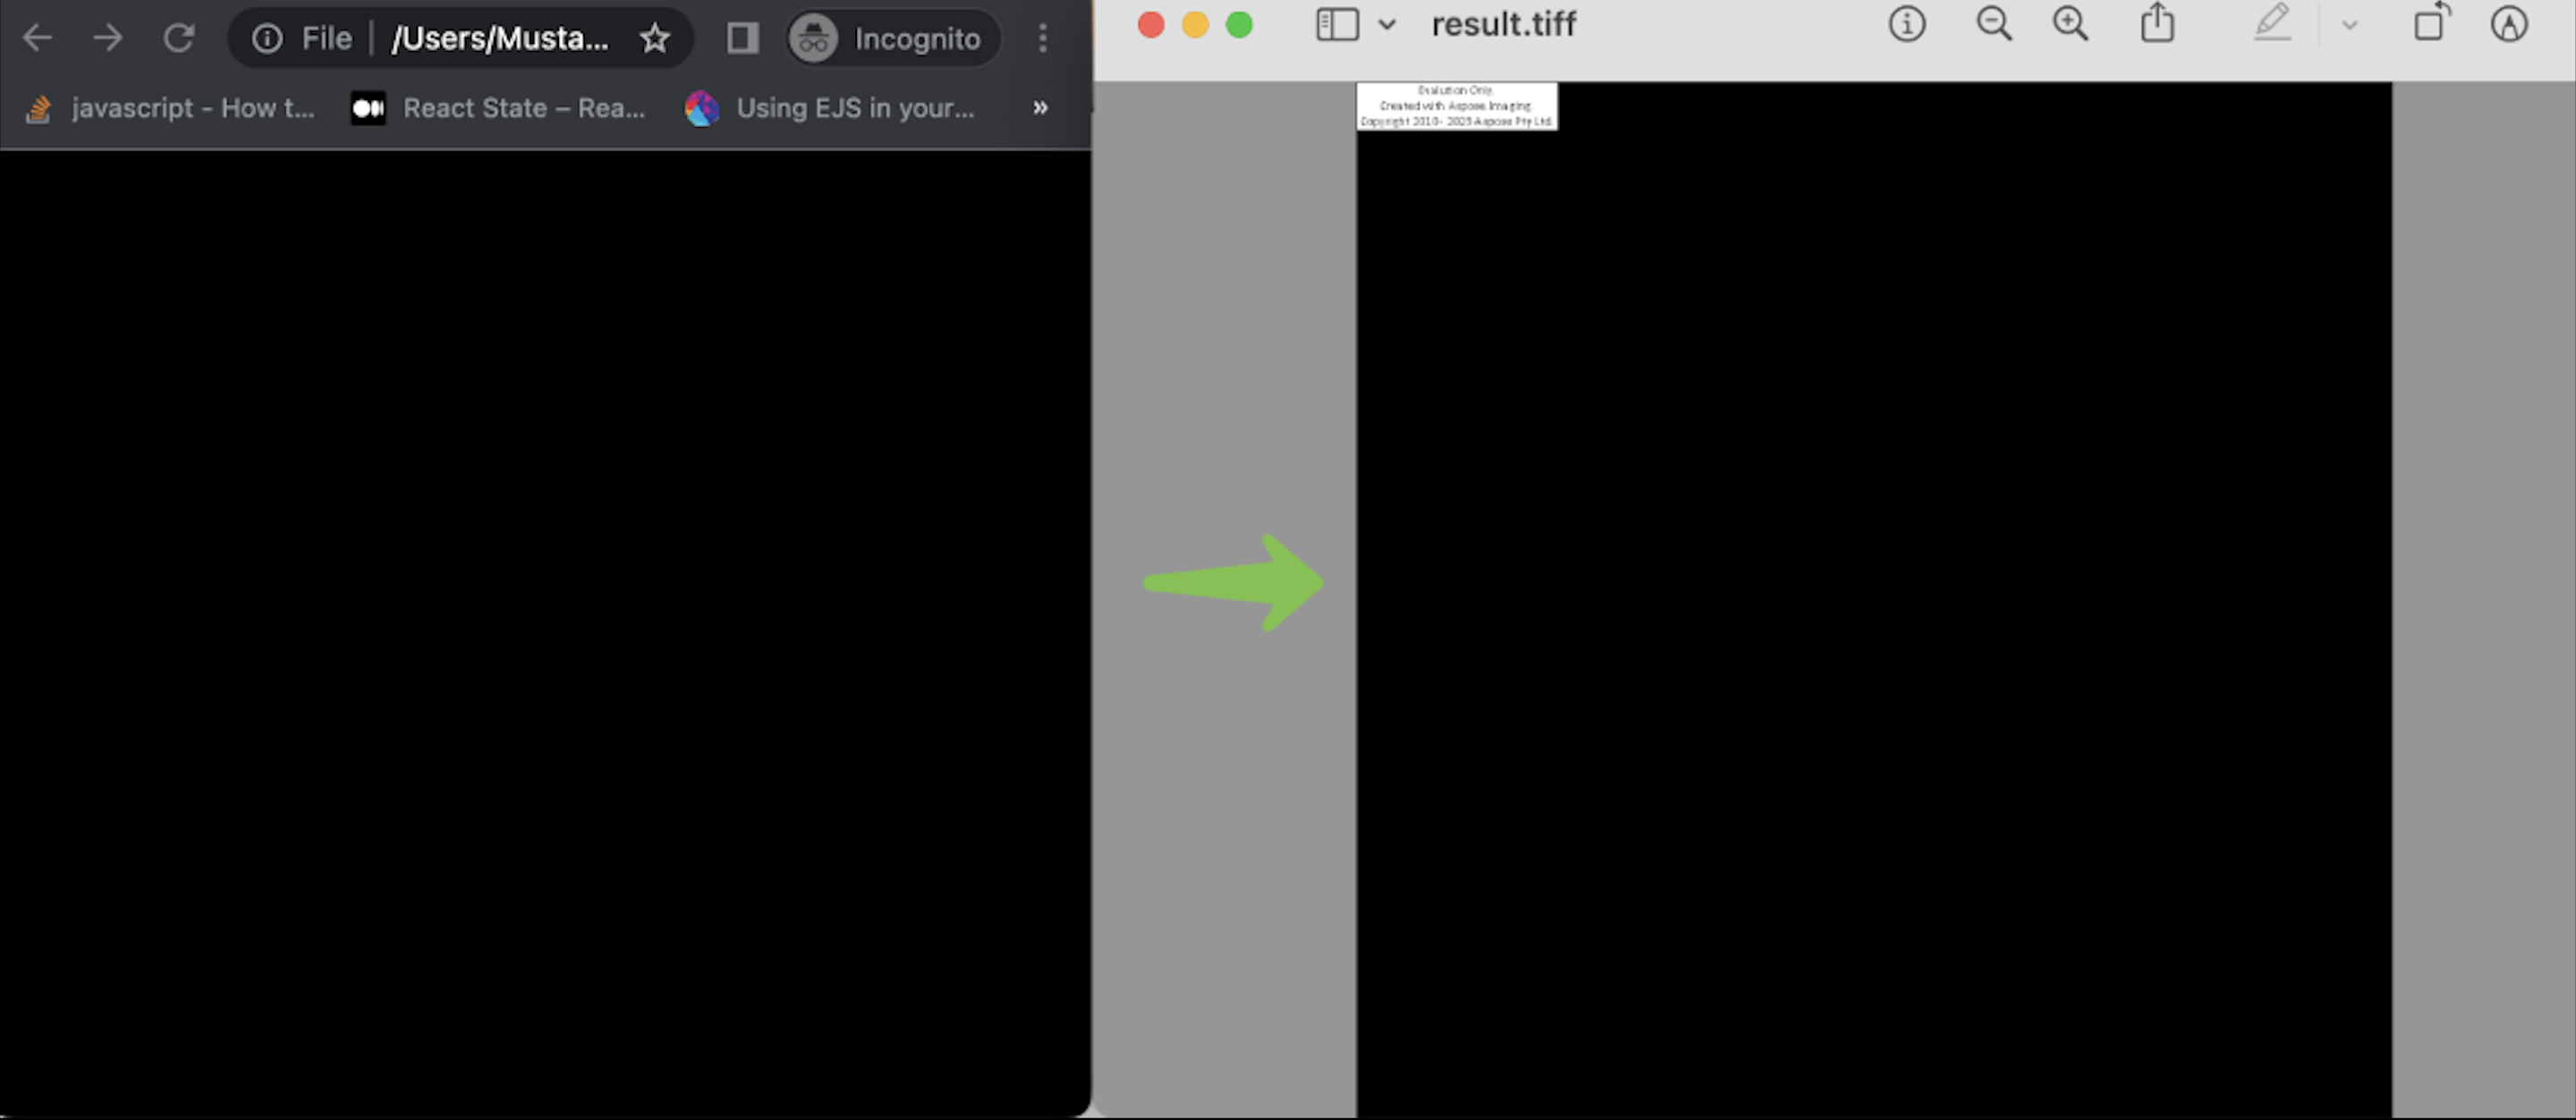
import aspose.pycore as aspycore
from aspose.imaging import Image
from aspose.imaging.fileformats.tiff.enums import *
from aspose.imaging.imageoptions import *
import os
if 'TEMPLATE_DIR' in os.environ:
templates_folder = os.environ['TEMPLATE_DIR']
else:
templates_folder = r"/sample-files/"
delete_output = 'SAVE_OUTPUT' not in os.environ
data_dir = templates_folder
# Invoke the load method of the Image class and load the source SVG file.
with Image.load(os.path.join(data_dir, "sample.svg")) as image:
# Create an object of the TiffOptions class and initialize it with the TIFF file format.
options = TiffOptions(TiffExpectedFormat.DEFAULT)
# Instantiate an instance of the SvgRasterizationOptions class to define the SVG file format options.
svg_options = SvgRasterizationOptions()
# Set the page width by assigning a value to the page_width property.
svg_options.page_width = 1000.
# Define the height of the page by setting a value of the page_height property.
svg_options.page_height = 1000.0
# Assign the object of SvgRasterizationOptions class to the the vector_rasterization_options property.
options.vector_rasterization_options = svg_options
# Call the save method to save the converted TIFF file on the disk.
image.save(os.path.join(data_dir, "result.tiff"), options)
您可以在下图中看到输出结果:
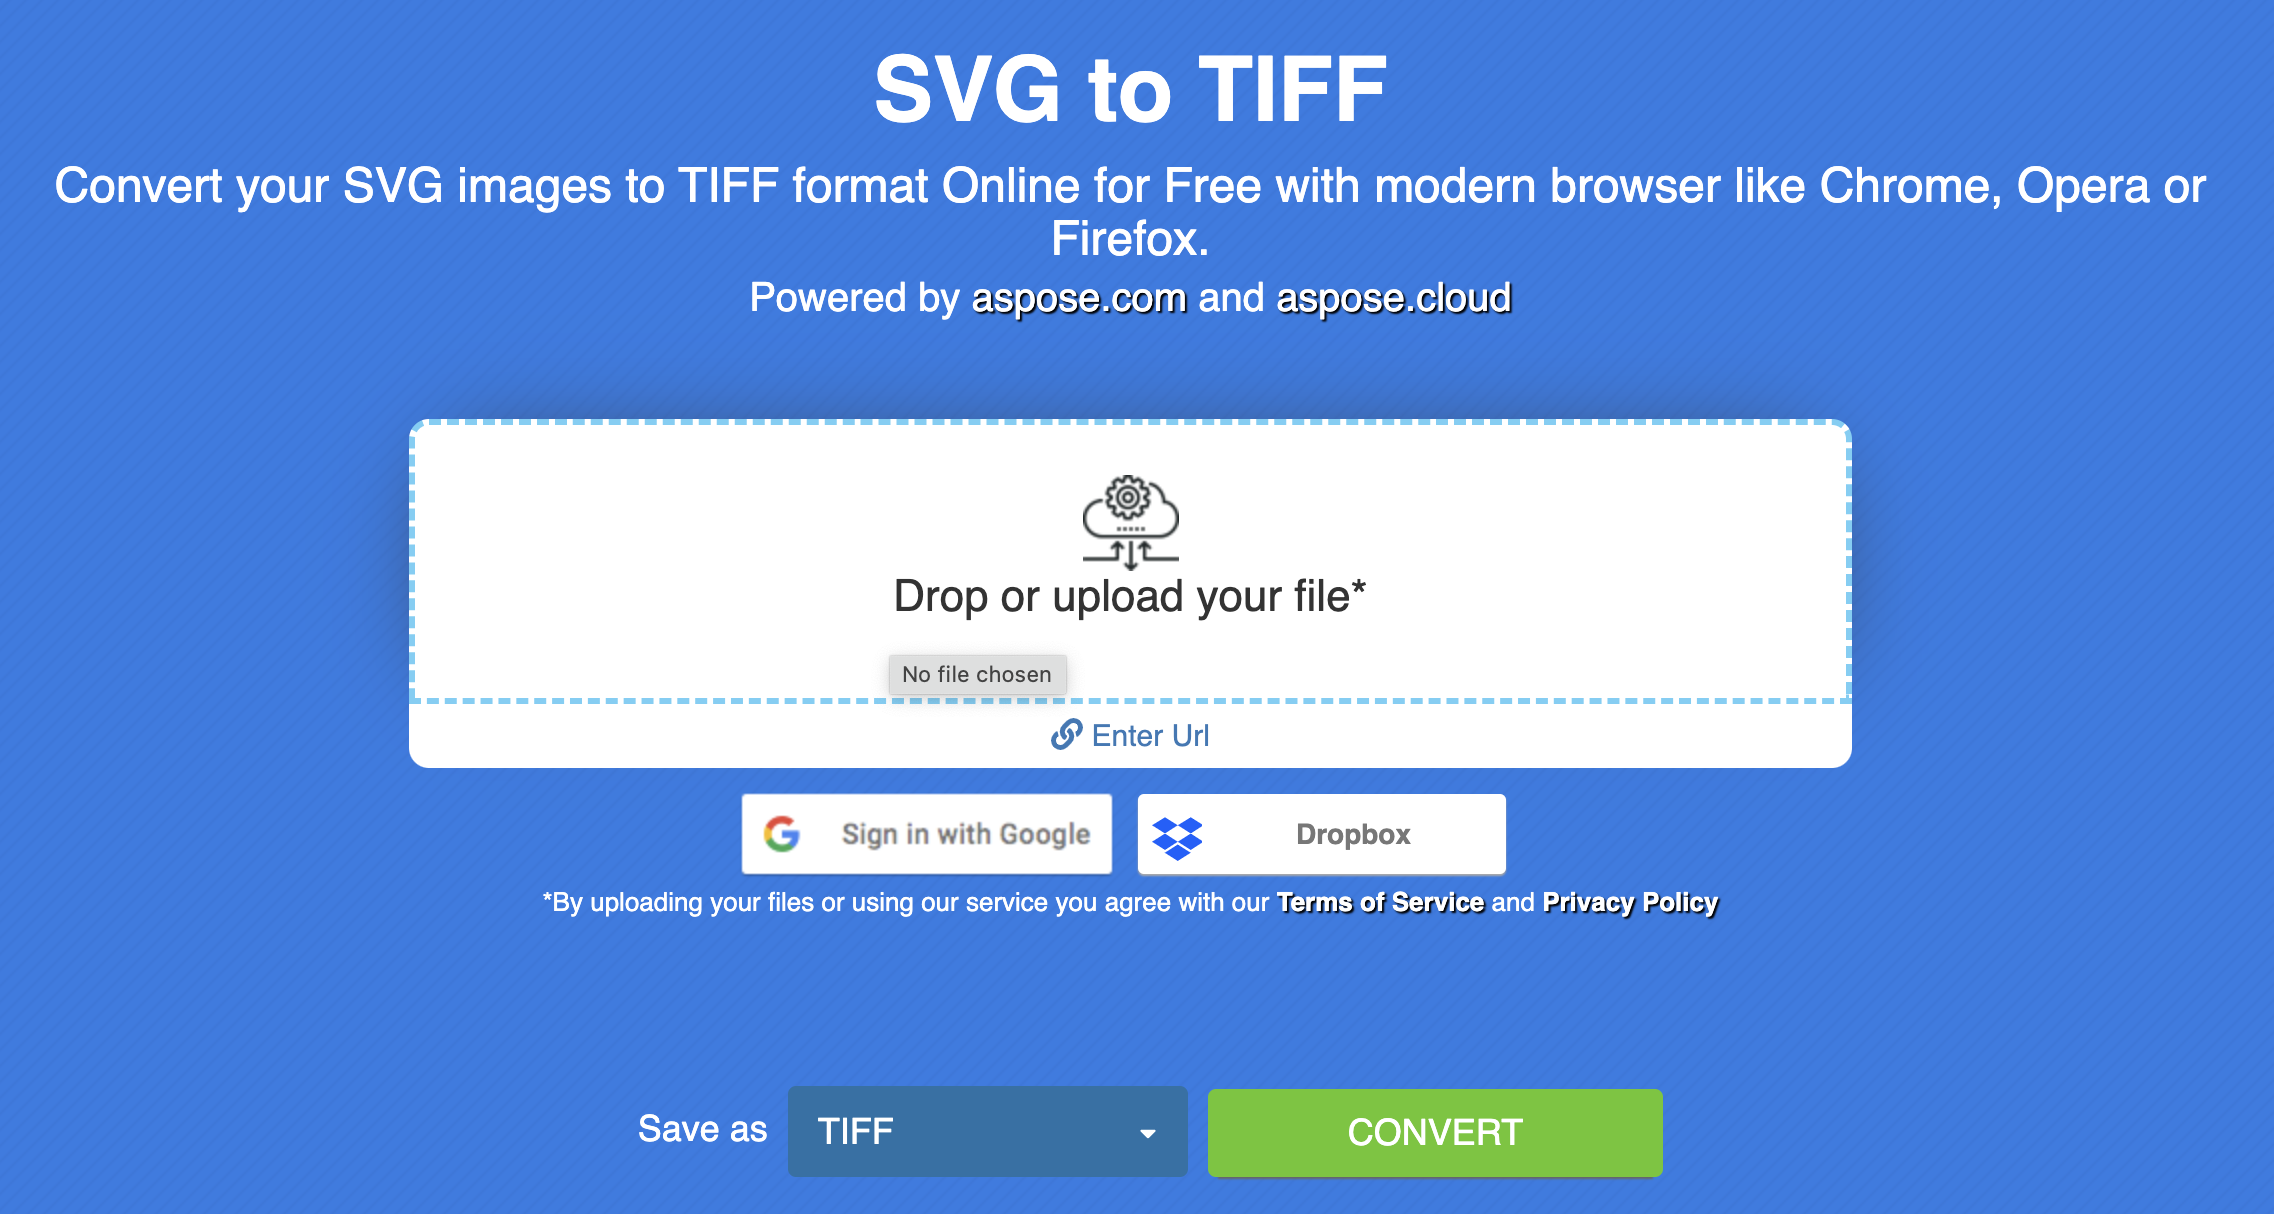
在线将矢量转换为光栅
此外,您还可以选择一种非编程解决方案,在线将矢量转换为光栅。这款在线矢量到光栅转换器是免费的,无需创建任何账户。最重要的是,它还由 Aspose.Imaging 提供支持。你可以看到一个用户友好型界面,导航非常简单方便。
矢量到光栅转换器 - 获取免费许可证
您可以免费获得临时许可证,试用这个图像处理库,不受评估限制。
结论
希望你喜欢这篇文章。我们已经学会了如何用 Python 编程将 SVG 转换为 TIFF。我们还学习了构建矢量到光栅转换器的实现方法。此外,您还可以通过安装此图像处理库来实现矢量图像转换。最后,您可以访问文档和 API 参考来开始开发。
此外,我们还建议您访问入门指南。
最后,aspose 正在撰写新的文章。因此,请随时关注我们的定期更新。
常见问题 - FAQ
能否将 SVG 转换为 TIFF?
可以,使用 Aspose.Imaging for Python 将 SVG 转换为 TIFF 非常简单。
如何将 SVG 转换为 TIFF?
您可以使用此矢量到光栅转换器在线将矢量转换为光栅。


 渝公网安备50010702505508